Leaderboard


Popular Content
Showing content with the highest reputation on 08/25/2014 in all areas
-
Hi, I have just joined the forum today, noticed your post, I have an avensis tourer 2010 built november 2009, I have fitted a 17 inch alloy spare and it fits perfectly, with a longer hold down screw from a 2003 avensis, no need to build a plinth, have had no problems with luggage, the jack and accessories fit under the boot floor, hope this helps2 points
-
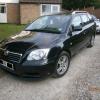
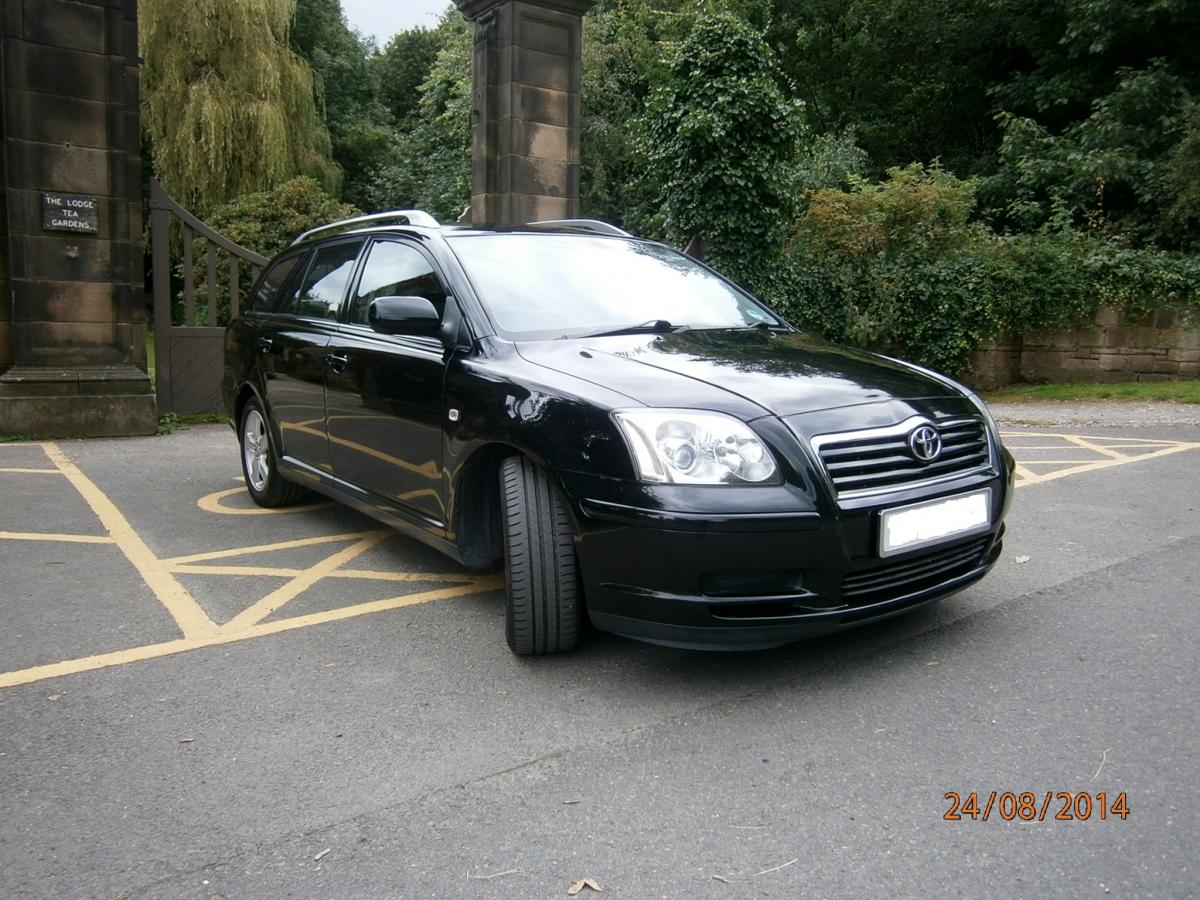
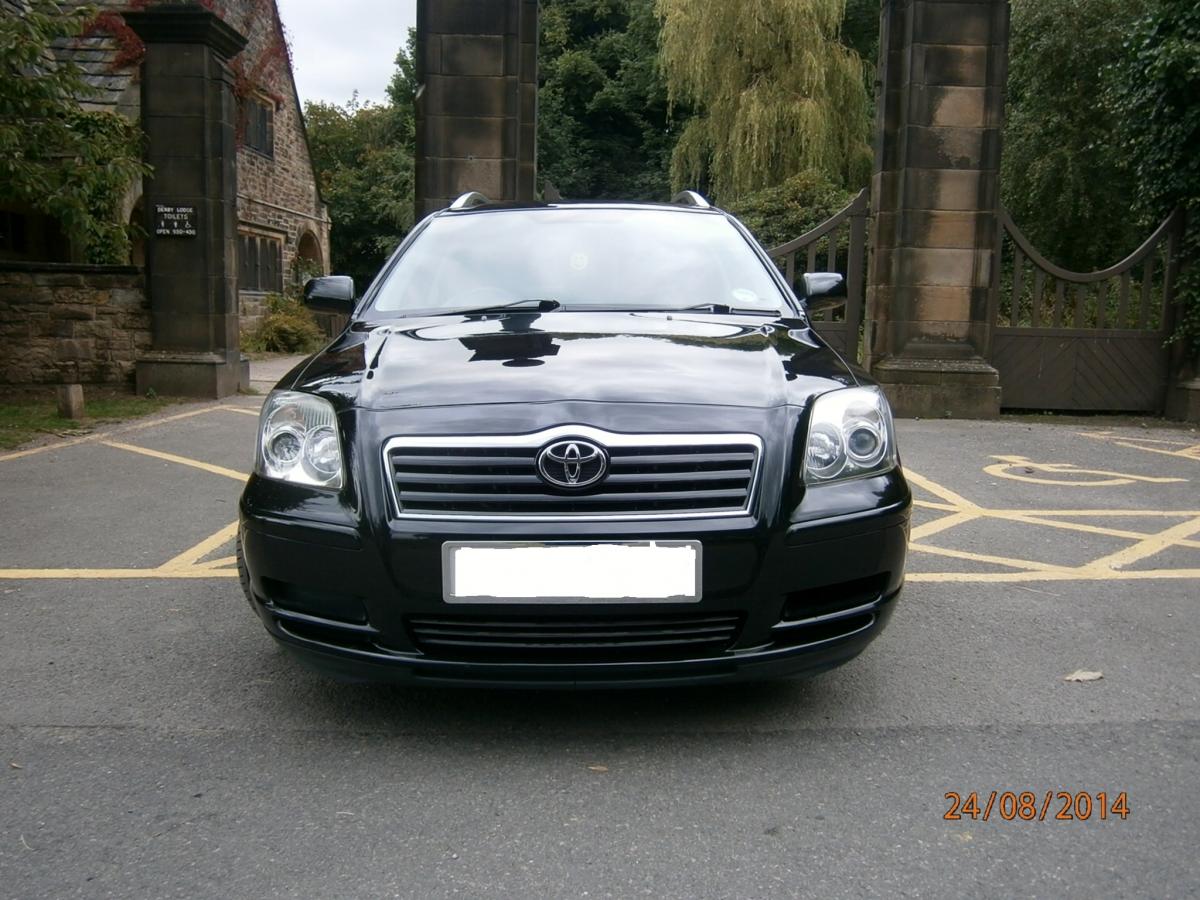
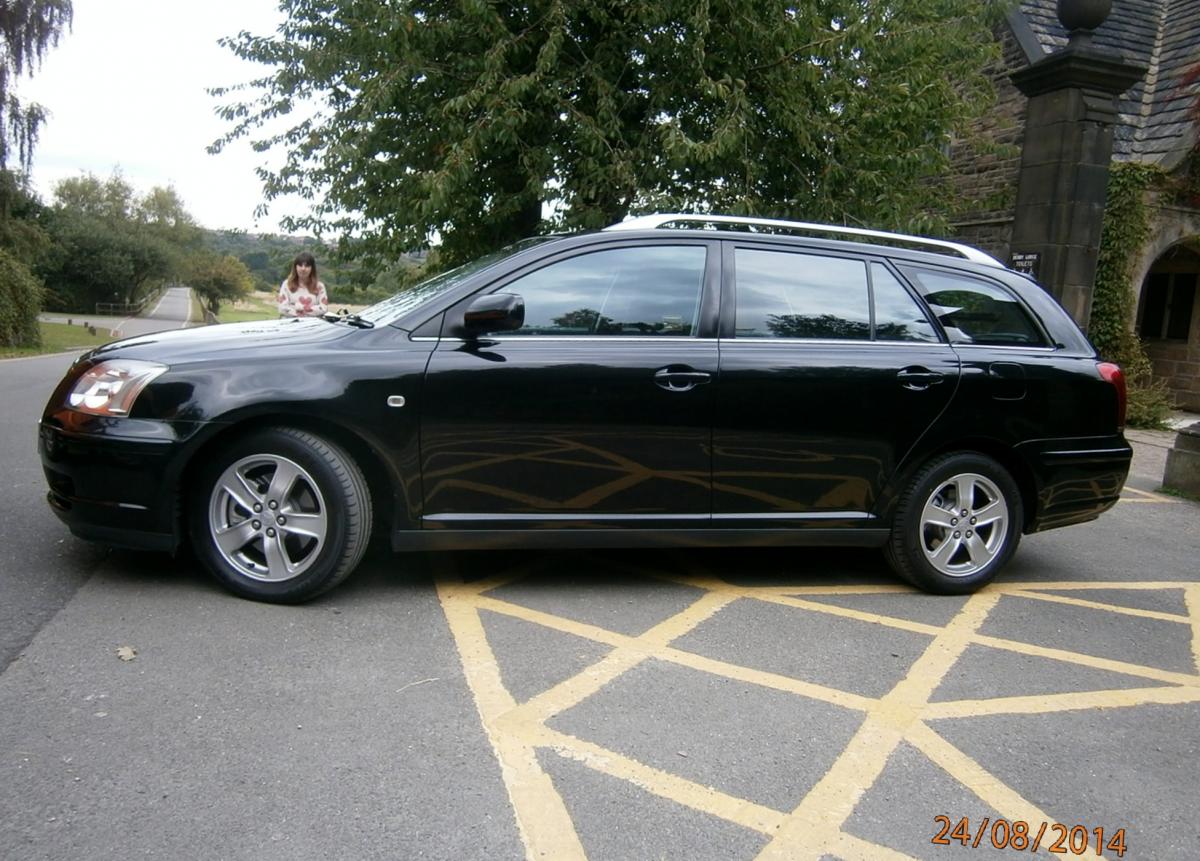
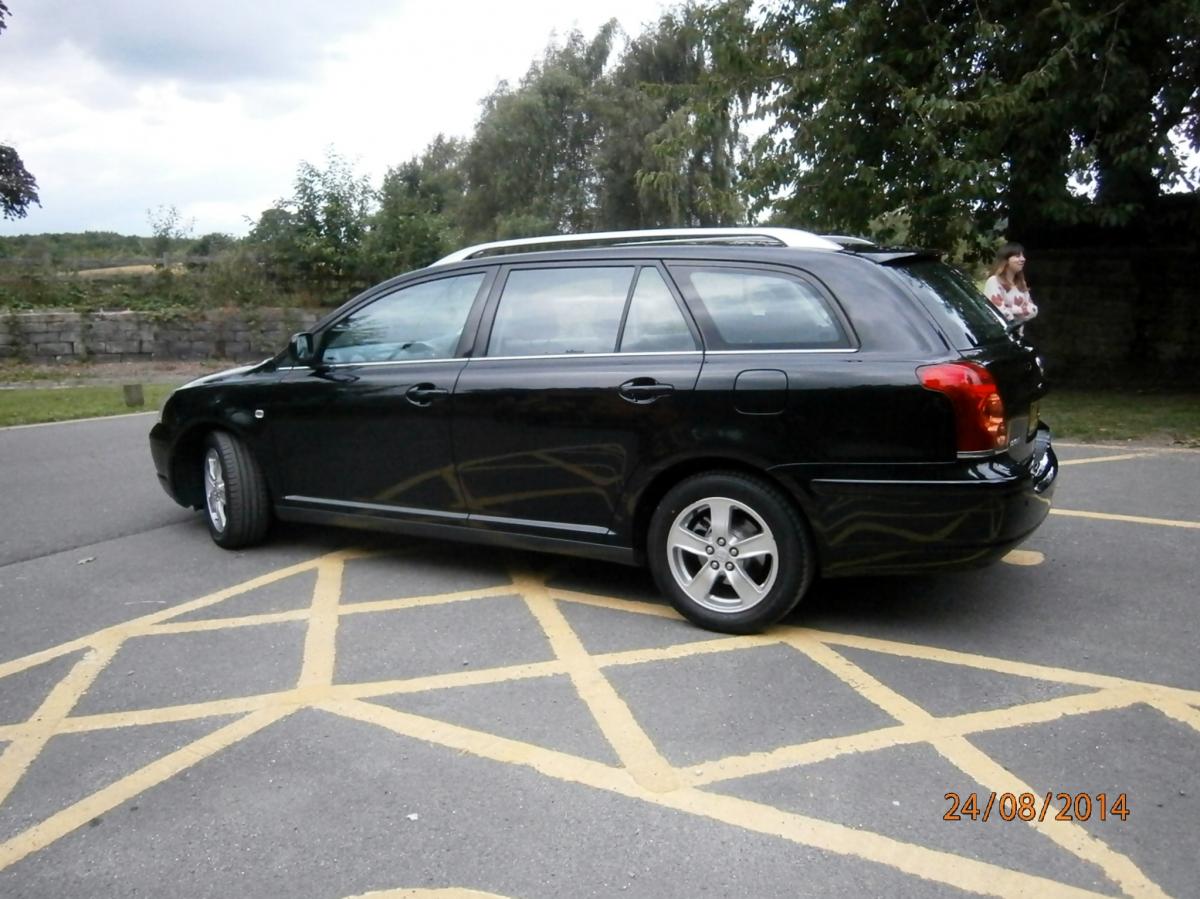
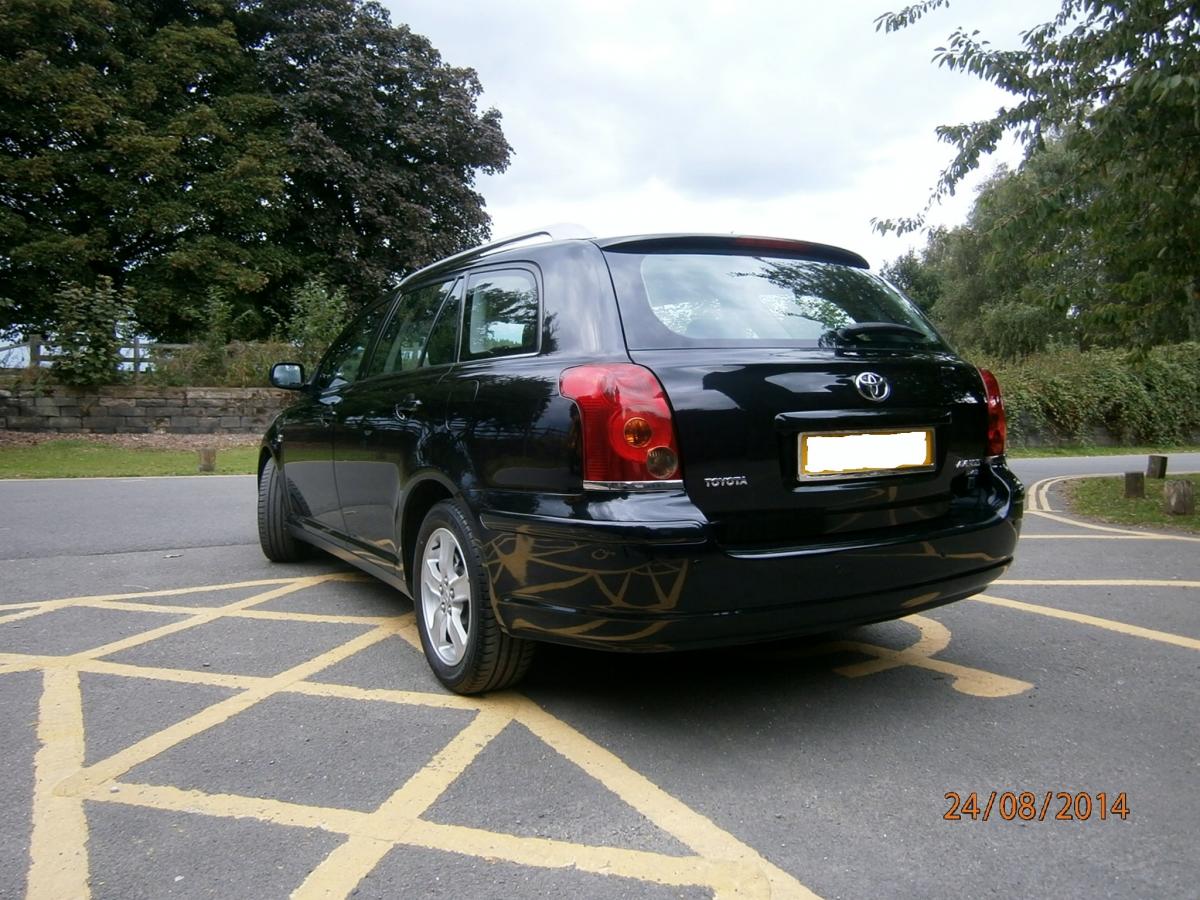
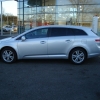
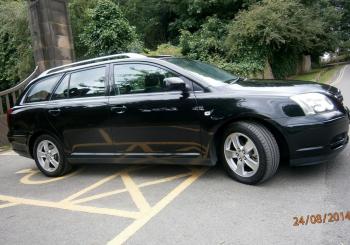
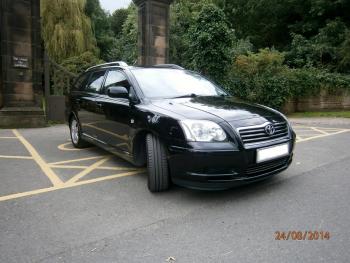
Upon close inspection my car had a few swirl marks and minute scratches so thought i would treat her to some TLC . Took me a couple of hours to clay bar the whole car and it really did take some of the engrained dirt away from the paintwork it wasn't that bad before just a bit gritty in places.After the claying the paint surface felt incredibly smooth i was impressed seeing as i'd never done this to a car before. Then set about polishing the car using Sonax black car polish and i can honestly say for the money (£10) its well worth it. Anyway thought i'd post up a few pics of my handy work.


 1 point
 -
I did exactly the same as Craig. Not only is there a much, much wider choice of tyres by going up to 17" rims, but you can also buy tyres at the budget end for £50 as opposed to the £125 for the 16" originals.1 point
-
swapped the hold down screws from my wifes 2003 t25 mk2 avensis, The longer t25 screw fitted the t27, the shorter t27 screw fitted the t25, I was lucky the hold down screw on my wifes 2003 avensis was longer,1 point
-
That is one of the reasons I changed the wheels on my iQ3 to a different size. I went up to 7" wide by 17" diameter wheels so I could fit 205/45 17 tyres. This is the same size as fitted to a lot of Mini's so tyre availability is very good should I need a replacement in a hurry. It also meant I could fit winter tyres to the original Toyota wheels for when the weather gets colder. Only downside to the 205 wide tyres is an increase in rolling resistance and therefore, fuel consumption so not really an economical switch. Craig.1 point
-
MMT is Toyota's Multi Mode Transmission - which is an automated manual gearbox. Whilst some other manufacturers offer something similar - they can all be troublesome and expensive to repair. See Honest John's review of the second generation Yaris (Good/Bad) - http://www.honestjohn.co.uk/carbycar/toyota/yaris-2006/?section=good1 point
-
Nice result there I clay bar the car twice a year to get rid of all the road crud that sticks to it. Always amazed afterwards how much came off & how smooth (like glass) the paint feels.1 point
-
Nice result there :) Black cars do look good when they're clean, it's just a never ending job keeping them that way.1 point
-
Wot, no beers! Haha!1 point
-
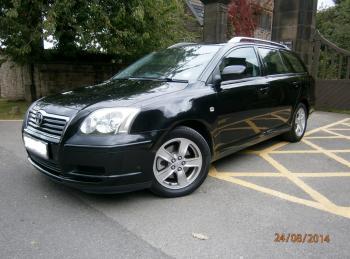
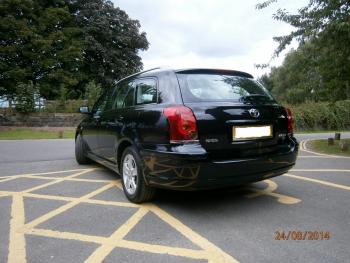
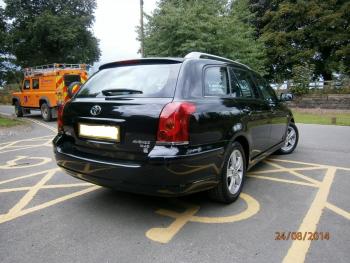
Hi Dawn, welcome to the Toyota Owners Club! I hope you find here all information you are looking for and I hope you are willing to share your knowledge with the other team members You probarly know, the internet (and we) love pictures of your car! Feel free to share them Oh yeah, before I forget, why did you buy a accident dammaged car? Once again welcome1 point
-
Hi, Welcome to the club... Enjoy1 point
-
Welcome to TOC1 point
-
Hello Dawn - welcome to Toyota Owners Club1 point
-
OK, I received the new head unit and wiring loom so here are a few pics of my upgrade. The Stereo I bought is the Pioneer AVH-X8500BT. Also needed a Steering Wheel Interface Stalk Adaptor & Car Stereo Patch Lead (Connect2 : CTSTY001.2) and a Connects2 CT23TY06 Toyota Auris Double Din Fitting Kit. But from this kit I only used the two front black plastic fascia. The rest I robbed from the OEM unit. It went together by the book. The hardest part was running the wires down the center console to the arm rest. You only need basic tools, but what I will say is if you don't have a flexible/magnetic grabber then get one. Its a life saver. The amount of time I dropped bolts down the dash......................... Anyways, removing the stereo is straight forward....First place a thin object under the side panels and gentle pull toward you. Remove both sides then pull the top air vent towards you also.... Then locate the two 10mm bolts either side of the headunit and remove them...... Pull the headunit forward. And carefully disconnect all wiring looms plugs from the back. Remove headunit. The add on wiring loom is to convert the existing wiring loom to enable the use of a non-oem unit and also keep the use of steering wheel controls. This unit has USB and HDMI on the rear so thats what I run first. I removed the centre console arm rest and run the wires down the middle to where the storage area is. I cut a hole in the base/corner of the storage area and run the wires into that. The fixed the arm rest back to the car. Put the carpet back and thats this end done. The next bit I did was make up the DVD by pass relay and fix that to the framework. Normally the green wire would go to the handbrake, so some of the features would only work if the handbrake was applied. But with this relay bypass, it enables all features of the unit all the time. It is very simple to do. All you need is a basic 12v 5pin 30A relay. Pin 87 and 86 and ground. Pin 85 goes to the remote output of the unit. The blue wire that enables a power amp to switch on. And finally Pin 30 goes to the green handbrake wire out from unit. I then fitted it to the nearest earth bolt. Now its a case of plugging in all the wiring loom to the existing cars loom and putting it all back together. So all in all it took me a few hours but it wasn't too bad. I audio sound is far superior than the oem unit, no surprise there, and when the Samsung MHL HDMI adaptor arrives I will be able to sync my phone to the unit and use my phones GPS / Navfree and other apps directly from the Pioneer unit. So no need to speed the extra and buy GPS version. Hope this helps anyone else thinking about upgrading there stock head unit.....1 point